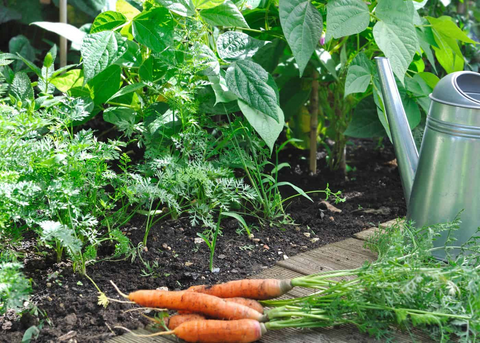
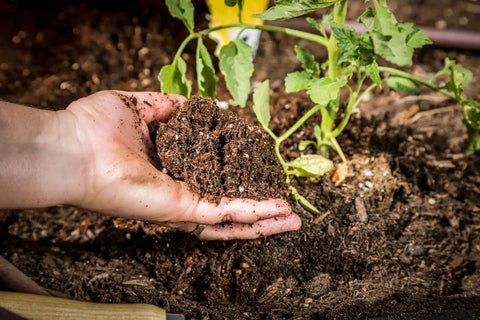
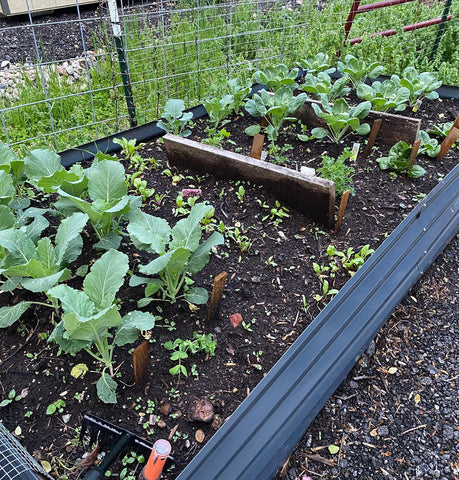
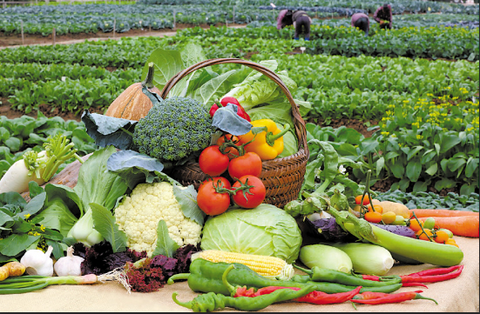
In a world increasingly focused on sustainability and reducing waste, regrowing plants from kitchen scraps has gained popularity as an eco-friendly and cost-effective way to produce fresh produce at home. Not only does it help reduce food waste, but it also allows you to enjoy the satisfaction of growing your own food. In this comprehensive guide, we will explore the various plants you can regrow from kitchen scraps, step-by-step instructions for each, and tips to maximize your success.The following content also has some reference value for raised garden beds
 .
.
Why Regrow from Kitchen Scraps?
Before we delve into the specifics of regrowing plants from kitchen scraps, it's essential to understand the myriad of benefits associated with this sustainable practice.
1. Reducing Food Waste
One of the most significant advantages of regrowing plants from kitchen scraps is its contribution to reducing food waste. According to the Food and Agriculture Organization (FAO), nearly one-third of all food produced globally goes to waste. By reusing kitchen scraps, you can help minimize this wastage.
2. Cost-Efficiency
Growing your own food can save you money in the long run. Instead of constantly buying new seeds or seedlings, you can repurpose parts of fruits, vegetables, or herbs you already have on hand.
3. Sustainable Gardening
Regrowing plants from kitchen scraps is a sustainable gardening practice that conserves resources, reduces the carbon footprint associated with food production and transportation, and promotes self-sufficiency.
4. Fresher and Healthier Produce
When you grow your own food, you have control over the cultivation process. This means you can ensure that your produce is free from harmful pesticides or chemicals, resulting in healthier and fresher fruits, vegetables, and herbs.
5. Educational and Fun
Regrowing plants from kitchen scraps can be an educational and enjoyable activity for both adults and children. It offers valuable insights into plant growth and encourages an appreciation for nature.
Now that we've highlighted the advantages, let's explore the plants you can regrow from kitchen scraps.
Plants You Can Regrow from Kitchen Scraps
1. Green Onions (Scallions)
Green onions are one of the easiest plants to regrow from kitchen scraps. Follow these steps to regrow them:
Step 1: Cut off the green tops, leaving about an inch of the white bulb.
Step 2: Place the white bulbs with the root end down in a glass or jar filled with enough water to cover the roots.
Step 3: Change the water every few days, and you'll notice new green shoots emerging within a week or so.
Step 4: Once the green onions have regrown sufficiently, you can trim and use them in your dishes. They will continue to grow as long as you provide them with water and sunlight.
2. Lettuce
Lettuce is another kitchen scrap that can be regrown quite easily. Here's how:
Step 1: Cut the lettuce about an inch from the bottom, ensuring that you have a stump with the root end intact.
Step 2: Place the lettuce stump in a shallow dish or container with a small amount of water.
Step 3: Put the container in a location with indirect sunlight.
Step 4: Change the water every few days, and within a week or two, you'll have new lettuce leaves sprouting from the center.
Step 5: Once the leaves have grown, you can harvest and enjoy fresh lettuce.

3. Celery
Regrowing celery from kitchen scraps is a simple process:
Step 1: Cut off the base of the celery, about 2 inches from the bottom.
Step 2: Place the celery base in a container with enough water to submerge the cut end.
Step 3: Change the water every few days, and within a week or two, you'll notice new leaves and shoots forming from the center.
Step 4: Transplant the celery into a pot or your garden once it has grown sufficiently. Ensure it receives plenty of sunlight and water.
4. Garlic
Regrowing garlic is a long-term endeavor, but it's highly rewarding. Here's how to do it:
Step 1: Choose a garlic bulb with cloves that have sprouted green shoots.
Step 2: Plant the garlic cloves in a pot or your garden, about 2 inches deep and 4 inches apart.
Step 3: Ensure the garlic receives adequate sunlight and well-drained soil.
Step 4: Water the garlic regularly, keeping the soil consistently moist but not waterlogged.
Step 5: In a few months, you'll see garlic greens growing above the soil. These can be harvested and used like chives or scallions.
Step 6: Allow the garlic bulbs to continue growing until the leaves turn yellow and dry. This can take several months. Once the leaves are dry, dig up the garlic bulbs, and you'll have fresh garlic.
5. Herbs (Basil, Mint, Cilantro, etc.)
Many herbs can be regrown from kitchen scraps. Here's a general process:
Step 1: Cut a 4-6 inch stem from the herb plant.
Step 2: Remove the lower leaves, leaving only a few leaves at the top.
Step 3: Place the stem in a glass of water, ensuring that the leaves do not touch the water.
Step 4: Change the water every few days and keep the glass in a sunny location.
Step 5: Once the roots have grown a few inches, transplant the herb into a pot or garden.
6. Ginger
Growing ginger from kitchen scraps is an exciting project that requires patience. Follow these steps:
Step 1: Obtain a ginger rhizome with at least one or more eyes (small, round, green buds).
Step 2: Soak the ginger rhizome in water overnight.
Step 3: Plant the ginger rhizome in a pot or garden with the eyes facing up, about 2 inches below the surface.
Step 4: Keep the soil consistently moist and provide partial sunlight.
Step 5: Ginger can take several months to grow. Once the plant is mature, you can harvest by digging up the rhizome.

7. Potatoes
Potatoes are a staple in many households and can be regrown from kitchen scraps:
Step 1: Cut a potato into chunks, ensuring that each chunk contains at least one or two eyes.
Step 2: Allow the potato chunks to air dry for a day or two.
Step 3: Plant the potato chunks in a container or garden bed, eyes facing up, about 3-4 inches deep.
Step 4: Water the potato plants regularly and provide them with plenty of sunlight.
Step 5: As the potato plants grow, you can continue adding soil or mulch to encourage more tuber development.
Step 6: Harvest the potatoes when the plant's foliage turns yellow and dies back. Carefully dig up the potatoes, being mindful not to damage them.
8. Carrots
Regrowing carrots from kitchen scraps is a fun project for gardeners of all ages:
Step 1: Cut the top 1-2 inches off a carrot, ensuring you have a piece with the green carrot top intact.
Step 2: Place the carrot top in a shallow dish or container with water, making sure the cut end is submerged.
Step 3: Change the water every few days, and within a week or two, you'll notice green shoots emerging from the carrot top.
Step 4: Transplant the carrot top into a pot or garden with well-drained soil.
Step 5: As the carrot top grows, you can harvest the green carrot leaves and use them as a flavorful garnish.
9. Pineapple
Growing a pineapple from kitchen scraps is a long-term project that requires dedication:
Step 1: Cut the top off a fresh pineapple, ensuring you have a piece with about an inch of flesh below the leaves.
Step 2: Allow the pineapple top to air dry for a day or two.
Step 3: Plant the pineapple top in a pot or garden with well-drained soil.
Step 4: Water the pineapple plant regularly and provide it with ample sunlight.
Step 5: It can take several years for the pineapple plant to produce fruit. Be patient and continue caring for the plant as it grows.
10. Avocado
Growing an avocado tree from kitchen scraps is an exciting and rewarding endeavor:
Step 1: Remove the pit from a ripe avocado and clean it thoroughly.
Step 2: Insert toothpicks into the pit at even intervals around its circumference, about halfway down the pit.
Step 3: Suspend the avocado pit, pointy end up, in a glass or jar filled with water. Ensure that the bottom half of the pit is submerged in water.
Step 4: Place the glass or jar in a sunny location and change the water regularly.
Step 5: In a few weeks to a few months, you should see roots and a stem emerging from the pit.
Step 6: Once the stem has grown to about 6 inches, trim it back to encourage bushier growth.
Step 7: Transplant the avocado tree into a pot with well-draining soil once it's large enough.
Step 8: Avocado trees can take several years to bear fruit, but with proper care, you can enjoy homegrown avocados eventually.

Tips for Successful Regrowth
While regrowing plants from kitchen scraps is relatively straightforward, here are some tips to ensure your success:
- Choose Healthy Scraps: Select kitchen scraps that are fresh and healthy. Avoid using moldy or rotting scraps.
- Use Quality Water: When growing plants in water, use filtered or tap water that has been allowed to sit for 24 hours to dechlorinate. This prevents chlorine from harming the growing roots.
- Monitor Light and Temperature: Ensure your regrowing plants receive the right amount of light and are kept at an appropriate temperature for their growth. Most plants prefer indirect sunlight and temperatures between 65°F and 75°F (18°C to 24°C).
- Regularly Change Water: If you're regrowing plants in water, change the water every few days to prevent the growth of mold or bacteria.
- Transplant When Ready: Once your regrowing plants have developed sufficient roots or shoots, transplant them into soil to continue their growth.
- Fertilize Sparingly: When transplanting into soil, use a balanced, diluted fertilizer to provide essential nutrients. Be careful not to over-fertilize, as this can damage the plants.
- Maintain Adequate Moisture: Keep the soil of your transplanted kitchen scraps consistently moist, but not waterlogged. Overwatering can lead to root rot.
- Be Patient: Some plants, like pineapples and avocados, can take years to produce fruit. Patience is key when regrowing these plants.
Conclusion
Regrowing plants from kitchen scraps is an eco-friendly and rewarding practice that not only reduces food waste but also allows you to enjoy fresh produce at home. From scallions to avocados, there are numerous plants you can regrow using simple techniques. By following the step-by-step instructions and tips provided in this guide, you can embark on a journey of sustainable gardening and take pride in the fruits (and vegetables) of your labor. So, the next time you prepare a meal, think twice before discarding those kitchen scraps—there might be a new plant waiting to grow and thrive. Happy gardening!


