
Garden beds are a beautiful and practical option to help you cultivate a variety of plants in your yard, but it is vital to keep your yard tidy and prevent weeds from growing. In this article, we will cover how to set up a plastic weeding guardrail garden bed, which is an effective way to prevent the growth of weeds while maintaining the beauty of the yard.The following content also has some reference value for raised garden beds.
Step 1: Prepare tools and materials
Before you start setting up a plastic weeding barrier garden bed, you need to get some tools and materials ready. Here's what you might need:
Plastic weeding guardrail: This is the main material used to prevent weed growth and can be purchased at most gardening suppliers or online stores.
Bed frame or bracket: You will need some type of bed frame or bracket to support the plastic weeding guardrail. These can be made of wood, metal or plastic.
Soil: Choose the right soil for the plants you are growing. Different plants have different soil needs, so make sure you buy the right soil.
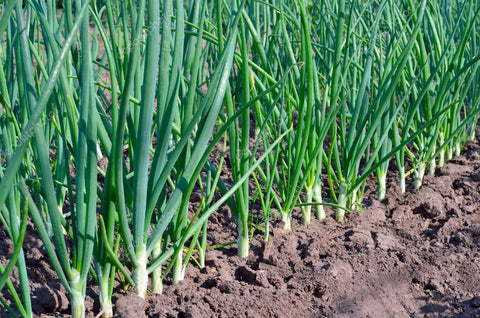
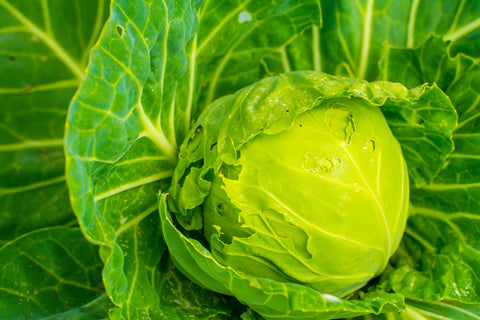
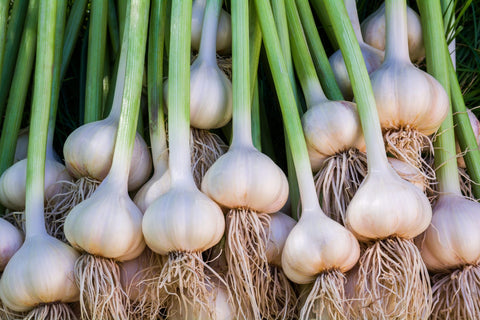
Plants: Choose the plants you want to grow according to your preferences, which can be flowers, vegetables or herbs.
Shovel, lawn mower, lawn mower, hoe and other garden tools.
Ruler, pencil, scissors and other basic measuring and trimming tools.
Step 2: Measure and plan
Before you start setting up a plastic weeding barrier garden bed, you need to measure and plan the location of the bed. Choose a sunny spot and make sure the plants get enough sunlight. Use a ruler and pencil to mark the outline of the bed and make sure the bed is the right size and shape for your needs.
Step 3: Prepare the soil
Once the bed is located, you can begin preparing the soil. Remove weeds and other debris from the bed and make sure the surface of the bed is level. Then, fill the bottom of the bed with soil a few inches deep, which will provide plenty of room for plants to grow.
Step 4: Install plastic weed guard rails
Install the plastic weed guard along the edge of the bed. You can use a bed frame or bracket to support the guardrail, making sure it is tightly secured to the edge of the bed to prevent weeds from growing out from underneath. You may need to use scissors or blades to trim the guardrail to fit the size and shape of the bed.
Step 5: Grow plants
Once the plastic weeding fence is installed, you can start growing plants. Depending on the species of plants you have chosen, plant them into the soil according to the planting instructions. Make sure plants are spaced enough apart so that they have enough room to grow.
Step 6: Maintain the garden bed
Once the plants are planted, you'll need to perform regular maintenance to make sure the bed stays clean and organized. This includes removing dead leaves from flowers, watering and fertilizing regularly, and pruning plants to maintain their shape.
Step 7: Monitor weeds
Although plastic weeding guardrail can effectively prevent the growth of weeds, but occasionally some weeds will pop up. Therefore, check your bed regularly for weeds and remove them immediately to keep your yard beautiful.
By following the steps above to set up a plastic weeding guardrail garden bed, you can easily prevent the growth of weeds while enjoying the beauty of your garden. This method is not only effective, but also relatively easy to maintain, enabling you to grow a variety of plants in your yard without worrying about weeds. Hope these steps are helpful and wish you a beautiful garden!


