
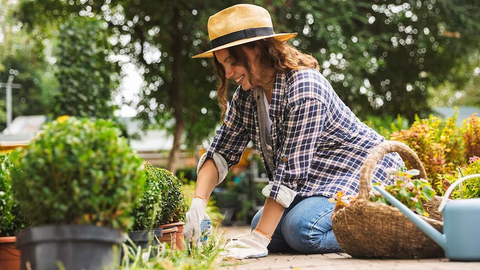
Containers are an easy way to add a splash of color to your garden, patio, or porch. Sure, you can throw some begonias or petunias into a pot and call it a day. But with a little extra effort, container gardening (in a Better Homes & Gardens 14-inch Mosswood Resin Planter, $14, Walmart) can be stunning, with pots full of thriving flowers and foliage. The right mix of plants arranged correctly in a pretty planter can be pure magic.The following content also has some reference value for raised garden beds.
These six simple steps will show you how to create a beautiful arrangement every time. Then, all you'll need to do is keep things watered and enjoy the colorful display all season long.
What You'll Need
Materials
• Container
• Thriller, filler, and spiller plants
• Potting soil
• Broken clay pot (optional)
• Water
Setting Up a Container Garden
Step 1
1. Choose the Right Container
Like plants, containers have characteristics to consider, including weight, sensitivity to weather changes, and appearance. When choosing a vessel for container gardening, you'll also want to consider your budget, space, and style. Keep in mind that the larger the size, the less you'll need to water, but whatever you choose, always make sure the container has holes in the bottom for drainage.
Step 2
Select Color Schemes and Plant Combinations
A color theme for container gardening can help you select a good mix of plants. You can play off the color of your container or focus on the flowers and foliage you plan to include. When combining plants in your containers, ensure they all need the same light levels and frequency of watering. Plant them in odd numbers, and be sure to have at least one thriller, filler, and spiller plant. Combining these three types of plants adds interest and balance.
Thriller: These plants add height and a bold vertical element. Some options include plants chosen for foliage, ornamental grasses, or upright flowering plants. Thrillers typically go near the center of a container.
Filler: Fillers tend to be more rounded or mounded and serve to make the container look full. These are generally placed in front of or around the thriller. In a long and narrow container like a window box, fillers are placed midway between the edge of the container and the thrillers.
Spiller: Plants that hang over the edge of the container are considered spillers. If your container garden is seen from all sides, place spillers all the way around.
Step 3
Limit the Number of Plants You Use
Be careful not to overfill a container garden. If the plants are overcrowded, growth can be stunted both above and below the soil. To lessen the chances of overfilling a container, you will generally want to follow these plant to pot size ratios:
o 10" to 12" pot can hold 3-4 plants
o 14" to 16" pot can hold 5-7 plants
o 16" to 20" pot can hold 6-9 plants
Step 4
Fill the Container with Potting Mix
Once you've selected your plants and a container, it's time to get planting. Fill your container two-thirds full with an all-purpose potting mix. Don't be tempted to use garden soil. It's too heavy and won't drain as well as it must in a container.
If you have a really large planter and want to use less potting mix, turn smaller empty containers upside down and place them on the bottom to take up some of the space. Then fill around them with potting mix until your container is two-thirds full.
Step 5
Place Plants in Your Container
When you're ready to add plants, gently squeeze their nursery containers around the sides to loosen the root ball enough to slide it out. Avoid tugging on the plant itself, which may damage it. Loosen the roots to encourage them to grow outward into the pot. Then, set your plants on the potting mix so that the top of their root balls are a couple of inches below the rim of your container. This will make it easier for you to water later.
Fill in around your plants with more potting mix, ensuring the stems are no deeper in the soil than in their nursery containers. Use your hands to press down lightly on the mix to eliminate large air pockets.
Step 6
1. Water Your Plants
Water your container garden to help the soil settle in. Add more soil if needed so that all the roots are covered. Remember to keep the soil level a couple of inches below the container's rim to prevent water and soil from spilling out.
After that first watering, check back in a day or two to see if the first inch or so of soil is dry to the touch. If it's dry, it's time to water again. You'll know you've given your container enough water when some runs out of the drainage hole(s). If you use a saucer under the pot, keep it emptied since plant roots can rot when left sitting in the collected water.


