
Introduction:
Gardening enthusiasts often seek ways to optimize their efforts and ensure their plants receive the right amount of water. One effective solution for this is the installation of a drip irrigation system, especially in raised bed gardens. In this article, we will guide you through the process of efficiently installing a drip irrigation system to help your raised bed garden thrive.The following content also has some reference value for raised garden beds.
Benefits of Drip Irrigation in Raised Bed Gardens:
Before diving into the installation process, let's understand why drip irrigation is a great choice for raised bed gardens:
Water Efficiency:
- By applying water directly to each plant's base, drip irrigation reduces water loss from evaporation or runoff. This targeted approach ensures that plants receive the right amount of water they need, promoting water efficiency.
Consistent Moisture:
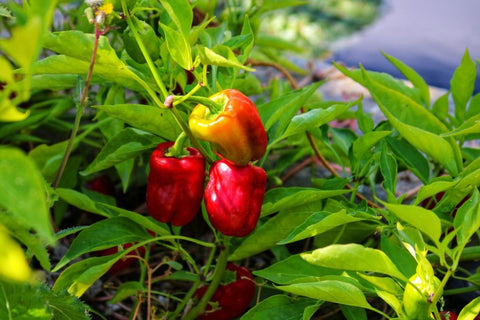
- Raised bed gardens often have varying soil types and drainage. Drip irrigation helps maintain consistent moisture levels, preventing overwatering or underwatering in different areas of the
Reduced Weed Growth:
- By delivering water directly to the plant roots, drip irrigation reduces the likelihood of water reaching weed seeds. This helps in controlling weed growth and conserving water for the intended plants.
Time Savings:
- Once installed, drip irrigation systems automate the watering process, saving you time and effort. This is especially beneficial for busy gardeners who may not have the time for daily watering.
Step-by-Step Guide to Installing Drip Irrigation in Raised Bed Gardens:
Step 1: Gather Your Materials
Make sure you have all the supplies you need before you start. This includes drip tubing, emitters, connectors, stakes, a filter, pressure regulator, and a timer.
Step 2: Plan Your Layout
Determine the layout of your raised bed garden and plan where you want to place the drip lines. Consider the water needs of different plants and position emitters accordingly.
Step 3: Connect to Water Source
Connect the drip irrigation system to your water source. Ensure you have a filter to prevent debris from clogging the system and a pressure regulator to maintain a steady flow of water.
Step 4: Lay Drip Tubing
Lay the drip tubing along the rows of your raised beds. Secure the tubing with stakes to keep it in place. Use connectors to navigate corners and connect multiple sections of tubing.
Step 5: Install Emitters
Place emitters near the base of each plant. The type of emitter and spacing will depend on the water needs of your plants. Be sure to follow the manufacturer's guidelines.
Step 6: Test and Adjust
Turn on the system to test for leaks and ensure that water is reaching each plant adequately. Make any necessary adjustments to the placement of emitters or tubing.
Step 7: Set Up a Timer
For optimal efficiency, use a timer to automate the watering schedule. This ensures your plants receive a consistent water supply without manual intervention.
Conclusion:
Installing a drip irrigation system in your raised bed garden is a rewarding investment that pays off in healthier plants, reduced water consumption, and saved time. By following these steps and customizing the system to your garden's specific needs, you'll create an efficient and effective watering solution that promotes a thriving and vibrant garden. Happy gardening!


